This guide provides step-by-step instructions on how to install WordPress on your hosting account using the WordPress Manager in DirectAdmin. WordPress Manager is a tool built into DirectAdmin that simplifies the process of installing and managing WordPress websites.
New installation
For new WordPress installation you will need to provide:
- WordPress website title.
- Main admin account credentials and email.
- Database credentials for storing WordPress website data.
Database credentials can be specified manually or a new database can be created during this process. If new database is created database credentials will be filled automatically.
-
Log in to DirectAdmin:
- First access your services from within https://alr-network.co.uk/account/ (or click here).
- Select the service
- Click the "Log in to DirectAdmin" button
-
Access the WordPress Manager:
- Once inside DirectAdmin, locate the “WordPress Manager” icon listed under the "Advanced Features" section of your dashboard.
- Click on this icon to open the WordPress Manager.
-
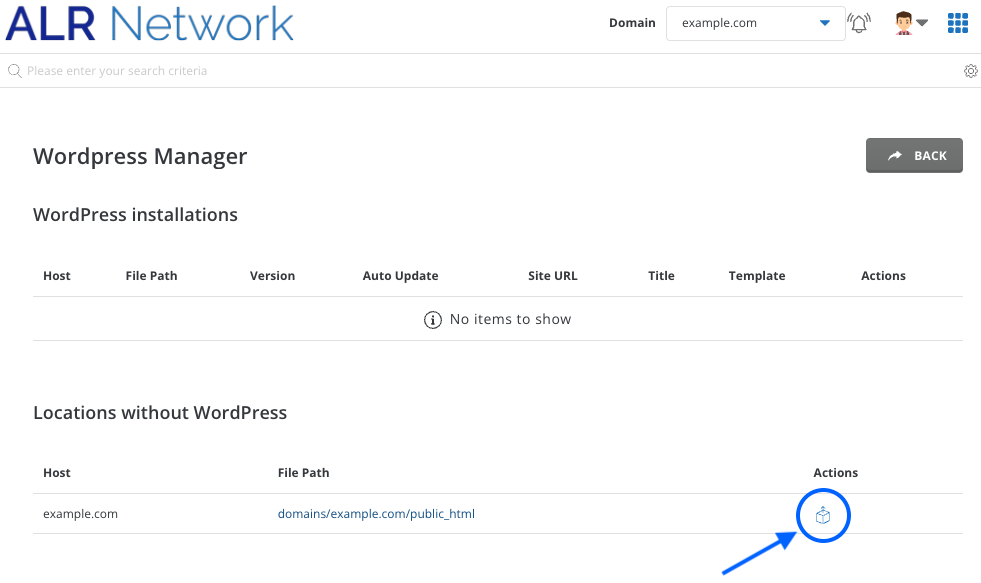
Initiate WordPress Installation:
- In the WordPress Manager, you will see your domain name, the file path and an option under "Actions" to install WordPress.
- In the WordPress Manager, you will see your domain name, the file path and an option under "Actions" to install WordPress.
-
Configure Installation Settings:
- Directory: The location where WordPress will be installed
- Title Path: Enter a title for your WordPress site
- Admin Account Name, Password, and Email: Set up your administrative credentials for WordPress. Choose a secure username and password, and provide a valid email address.
- Database: Use an existing database which you have already created or have a new one created.
- Don't forget to press the "Create" button if you choose to have a database created.
- Table Prefix: By default, this is "wp_" and this sits in front of every table created in the database by this WordPress install. It's useful to change this if you have other database contents which you wish to separate. Otherwise, it can be left as "wp_"
-
Install WordPress:
- Review your settings, and then click the “Install” button.
- The installation process will begin, you will be notified upon completion.
-
Confirmation and Access Details:
- Once the installation is complete, you will receive a confirmation message.
- The confirmation will include links to your new WordPress site and its admin dashboard.
-
Finalise Your WordPress Setup:
- Click on the link to your WordPress dashboard and log in with the credentials you set up.
- You can now start customising your website using WordPress's various themes and plugins.
